Uploading a spreadsheet template can be a convenient and time-saving way to input student data and records into the Data Tool. However, users often encounter issues when they fill out the import template and during the upload process that can be frustrating and disrupt their workflow.
DOWNLOAD the Import Template:
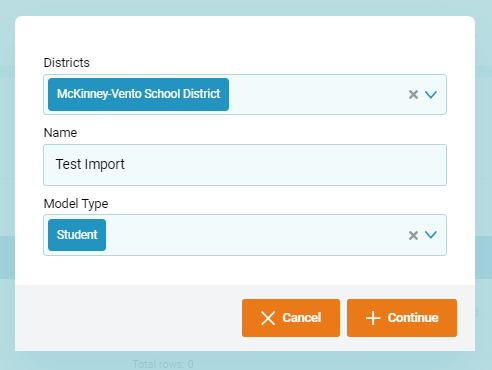
1. Navigate to the "Import" tab and select "New Import."

2. A popup message will show up. Choose the District, enter the Import name, and specify the Model Type (Student or Record), then click "Continue."
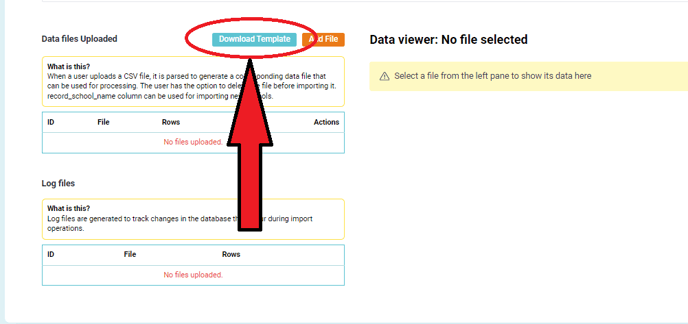
3. On the left-hand side, click "Download Template."
4. Next, you can open the import template and follow the provided steps on the video for accurately filling in the details on the template.
Here is a video tutorial on how to fill out the import template before you upload it:
After filling out the import template, follow these steps to import the data.
Uploading the Template File
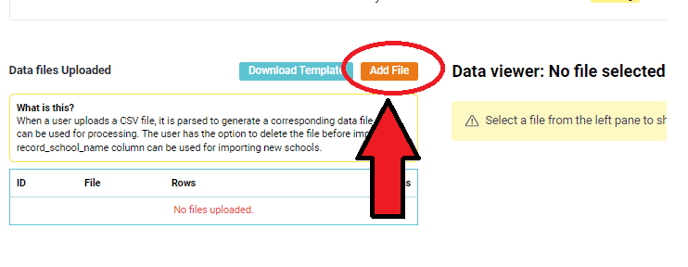
- Locate and click on the "add file" button.
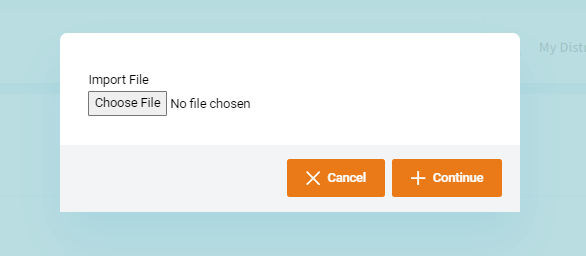
- Select the previously prepared import template and click "continue" to proceed.
Verification of File Upload
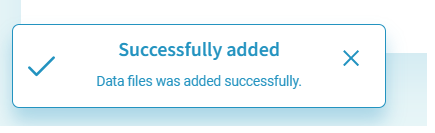
- After uploading the data files, a notification will appear on the lower-right part of the screen indicating whether the files were successfully added.
Validation Process
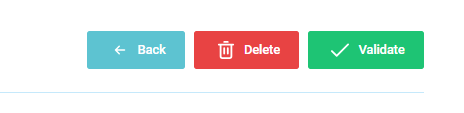
- Click on the "Validate" option to start the data validation process
Running Validation
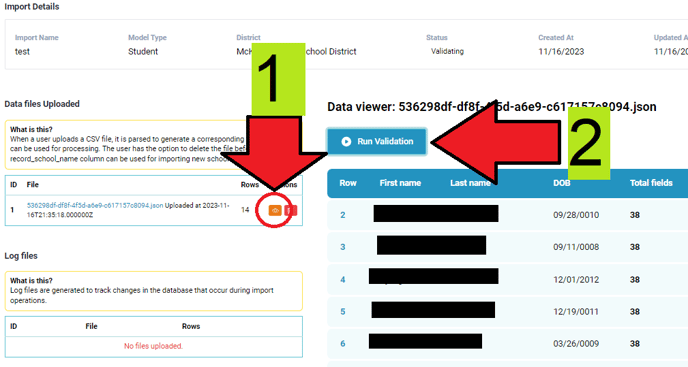
- To review the contents of the import template, click on the eye-icon located on the left-hand side of the screen.
- Initiate the validation process by clicking the "Run Validation" button.
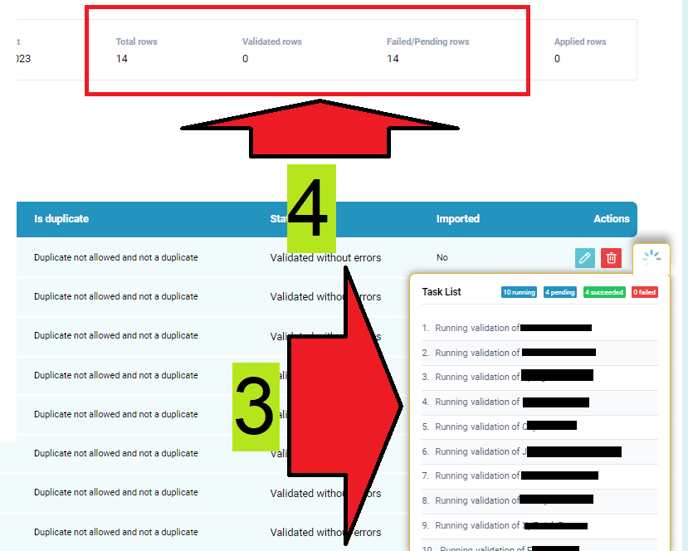
- A task list button on the right-hand side will display the validation progress. Ensure not to close this window during the validation process.
Error Checking
- After the validation is completed, thoroughly check the files for any potential errors or discrepancies.
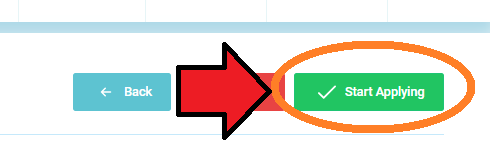
Applying the Data
- Click on "Start Applying" to initiate the data application process.
- Navigate back to the left-hand side and click on the eye-icon to review the data before applying it to the database.
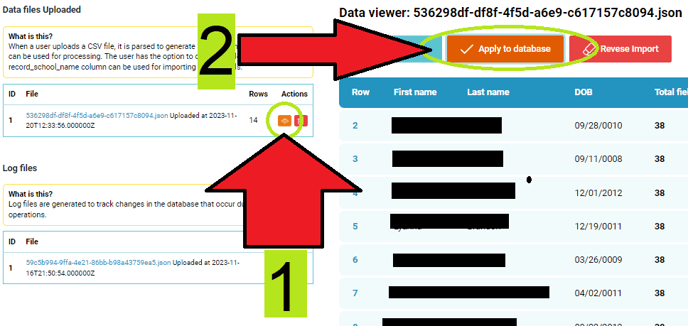
Database Application
- Confirm the application by clicking on "Apply to Database."
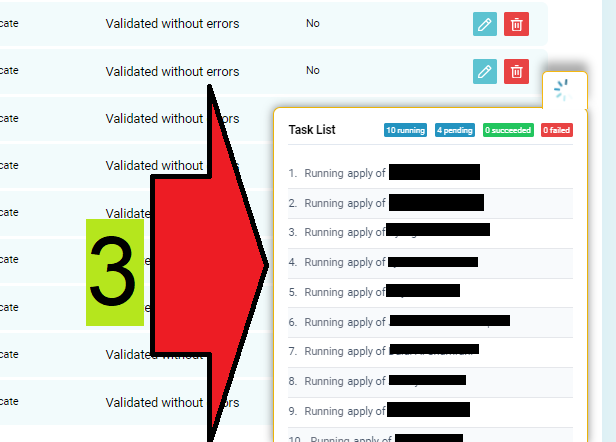
Completion and Status Check
- Once the process is finalized, the status of each dataset should indicate "Imported," signifying a successful data import.
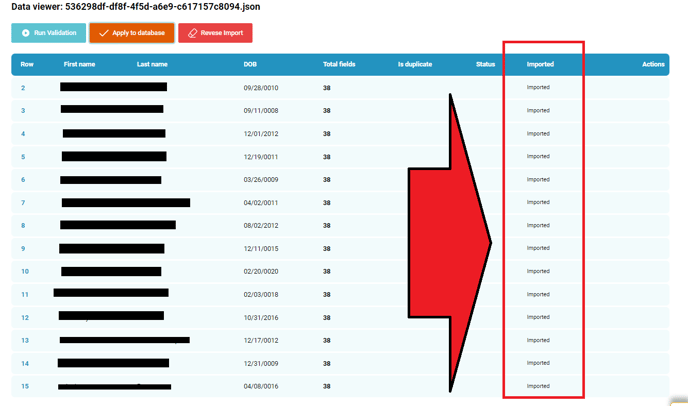
Once done, you should be able to view the Students/Records on the system.