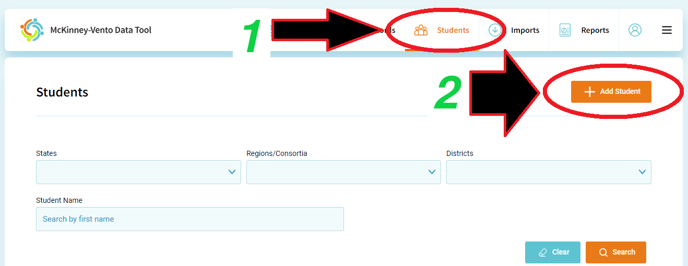
Step 1: Accessing the Students Tab Begin by navigating to the Data Tool interface and locating the "Students" tab at the top of the page. This serves as your entry point to initiate the student addition process.
Step 2: Initiating Student Addition Click the "+ Add Student" button, which prompts the system to initiate the student addition workflow.
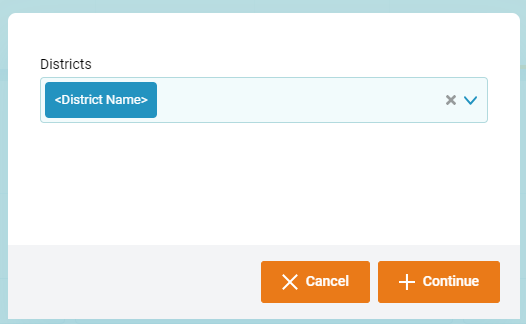
Step 3: District Selection To accurately categorize the student, choose the relevant district from the provided options. This step helps ensure the data is properly organized and can be easily accessed when needed.
Step 4: Continuing the Process After selecting the district, click "+ Continue" to move forward with the student addition procedure.
Step 5: Entering Essential Information You'll now be directed to the "Create Student" interface, where you'll input three vital pieces of information: the student's First Name, Last Name, and Date of Birth. These details establish the student's identity within the system.
Step 6: Saving Student Data Click the "Save Student" button to store the entered information. This action finalizes the basic student details and prepares the system for additional data.

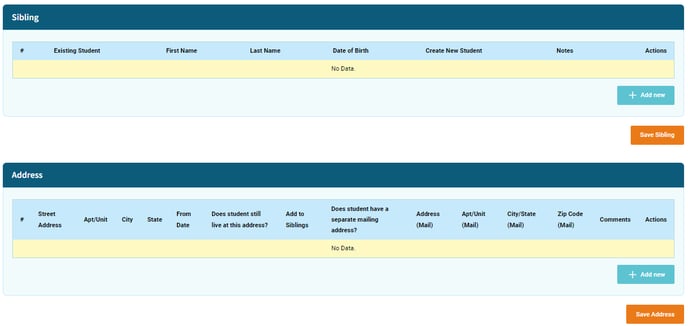
Step 7: Adding Student Background At this stage, you'll have the opportunity to provide comprehensive background information about the student. The interface will present various forms and fields to complete. Take your time to accurately fill out these sections, ensuring a holistic view of the student's profile.
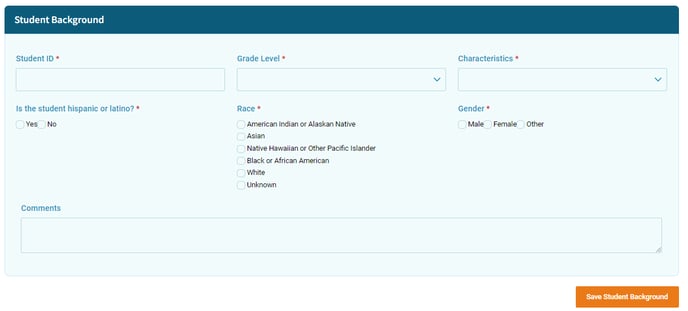
Step 8: Saving All Data Once you've meticulously entered all the required student background information, it's time to safeguard your efforts. Click the "Save All Forms" button to preserve the entire dataset you've compiled. This action confirms the successful addition of the student to the Data Tool.