Step 1: Navigating to the Student Profile
Commence by accessing the "Students" section. Here, you can seamlessly locate and select the specific student for whom you intend to add a record.
Step 2: Viewing the Student Profile
Once you've selected the desired student, click on the "View Button" or the eye icon. This action provides you with a comprehensive view of the student's existing profile.
![]()
Step 3: Initiating Record Addition
Scroll down to the bottom of the student profile page, where you'll find the "Add a Record" option.

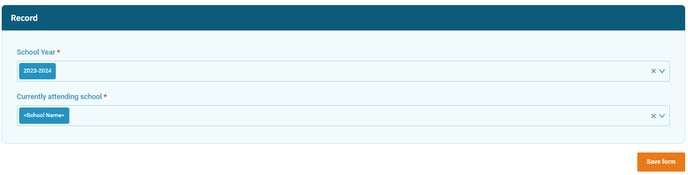
Step 4: Selecting the School Year
Upon clicking "Add a Record," a prompt will request you to specify the relevant school year for the newly added record.
Step 5: Specifying School Attendance
From the provided options, select the "Currently attending school" designation. This choice anchors the student's record within the ongoing academic year. Confirm your selection by clicking "Save Form."
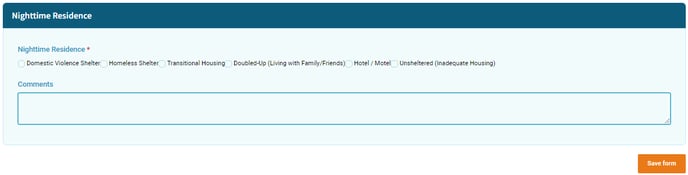
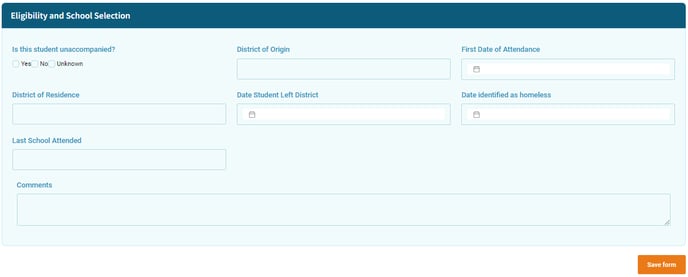
Step 6: Inputting Record Details
With the foundational steps in place, the system presents you with a series of forms to input specific records for the student. Each form corresponds to a distinct category of information, ensuring a comprehensive student profile.
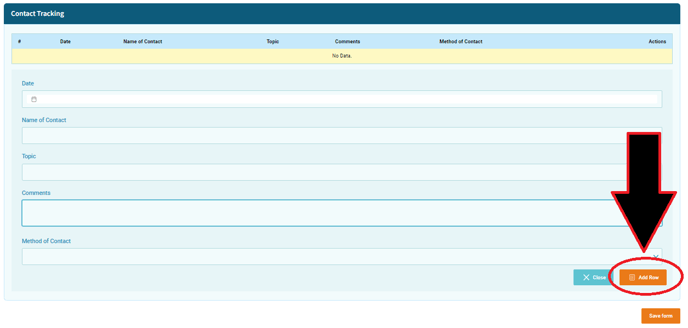
Step 7: Managing Additional Forms
You need to click "Add Row" before saving the form for other sections such as Contact Tracking, Student Documents, Funds Spent on Student, and Additional Case notes.
Step 8: Saving all Data
As you finalize the record addition process, culminate by clicking "Save All Forms." This step ensures the comprehensive dataset you've meticulously compiled is safeguarded and ready for future reference.